0. 写在之前的话

这两天,我深入的理解,并编写实现了 Bloom 效果。本来打算系统的写一下的,但是尝试了一下,发现太长了,所以打算以链接的方式给出学习路径。后面几节的内容都是学习路径。
我自己的感受:
因为这是第一次接触这种可以说是工业级别的渲染代码(Unity 官方后处理中的Bloom代码),我受到很大的震撼。在花了整整两天时间仔细深入学习了其中各个步骤渲染,为什么这么做,为什么不那么做的原因后,我觉得我收获了非常非常多的东西。
这篇文章中所谈到的 Bloom 效果的源代码:Bloom-Effect-Unity
1. 最好的学习模板
我最初是在 keijiro/KinoBloom 这个 Github 项目上看到 Bloom 的实现方式的。之后,在下载了 Post Processing Stack 这个 Unity 官方的后处理系统后,我认真的阅读、学习了其中关于实现 Bloom 部分的代码。(其实这两份代码都是 keijiro 一个人写的)
在看过这两份代码后,我发现 Post Processing Stack 的代码质量更高。在这里推荐给大家包含 Bloom 实现的几个文件。
- Resources/Shaders/Bloom.shader。包含了实现 Bloom 效果的具体各个的 Pass 的 Shader 代码。
- Resources/Shaders/Bloom.cginc。包含了各个 Pass 的 vertex 和 fragment 的 Shader 代码。
- Resources/Shaders/Common.cginc。包含了一些渲染所需的基础工具函数。
- Runtime/Components/BloomComponent.cs。包含了调用 Shader 进行后处理的代码。
2. 初步了解 Bloom
- Wiki 中关于 Bloom 的定义:wiki_Bloom_shader_effect)
- Wiki 中关于 HDR 的定义:wiki_High_dynamic_range
- 朴素的关于实现 Bloom 的原理:how-to-do-good-bloom-for-hdr-rendering
3. 亮度筛选(Light Prefilter)
这部分主要是关于 Bloom Shader(在上文中提到的Resources/Shaders/Bloom.shader)中第一个 Pass 的实现方法。
代码部分:
这个 Pass 是用来对图片的亮度进行筛选:选出高亮度的像素,去掉低亮度的像素。
Gamma 空间和 Linear 空间:
- 什么是 Gamma 矫正(Gamma Correction): wiki_Gamma_correction
- Unity 在 Gamma 或 Linear 空间中的开发流程:LinearRendering-LinearOrGammaWorkflow
- 在 Shader 中判断游戏当前是在 Gamma 空间中还是在 Linear 空间中:UNIYT_COLORSPACE_GAMMA
- 什么是 sRGB 空间:wiki_sRGB
边缘柔和
- 如何在对亮度筛选时,让亮度边缘变得柔和:catlike_bloom 中的 Soft Threshold 一节
在对亮度筛选时,如何避免闪烁的斑点:
- 什么是闪烁的斑点:PostProcessing_issues_219
- 什么是 Box Filter (Box卷积核):wiki_box_blur
- 利用 Box Filter 来快速计算 Gaussian Filter (高斯卷积核) 的原理和方法是什么:Fast Image Convolutions
- 什么是 Bilinear Filtering : wiki_Bilinear_filtering
4. 模糊(Down Sample)
代码部分
|
|
这里的要点和前一节的差不多。所以就不细讲了。
这个 Pass 的主要作用是:对图像采样并模糊。所以这里用到了 BoxFilter 对图像进行采样模糊。
5. 扩大采样(Up Sample)
|
|
这里采用的卷积核是 Tent 卷积核:
| 1 | 2 | 1 |
|---|---|---|
| 2 | 4 | 2 |
| 1 | 1 | 1 |
这里的主要作用就是对小的图像进行采样,从而形成一张大的图像。
总流程概览
初始:
亮度筛选:
缩小并模糊(2次)

放大并叠加
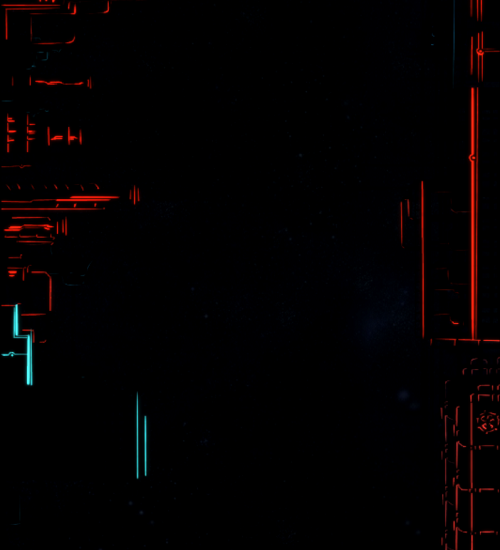
最后和原图叠加